이 문서는 Nexus 설치 가이드를 공유하기 위해 작성되었다.
준비작업
- Java JDK 사전 설치
- 다운로드 : https://www.sonatype.com/download-oss-sonatype
Windows 설치하기
압축해제
다운로드 받은 설치 파일을 적당한 폴더에 압축을 해제한다.
nexus.properties 설정
conf/nexus.properties 파일에서 포드 등 적절한 설정을 수행한다.
nexus 시작
모든 설정이 완료되면 아래 명령을 통해 nexus를 실행한다.
nexus install
nexus start
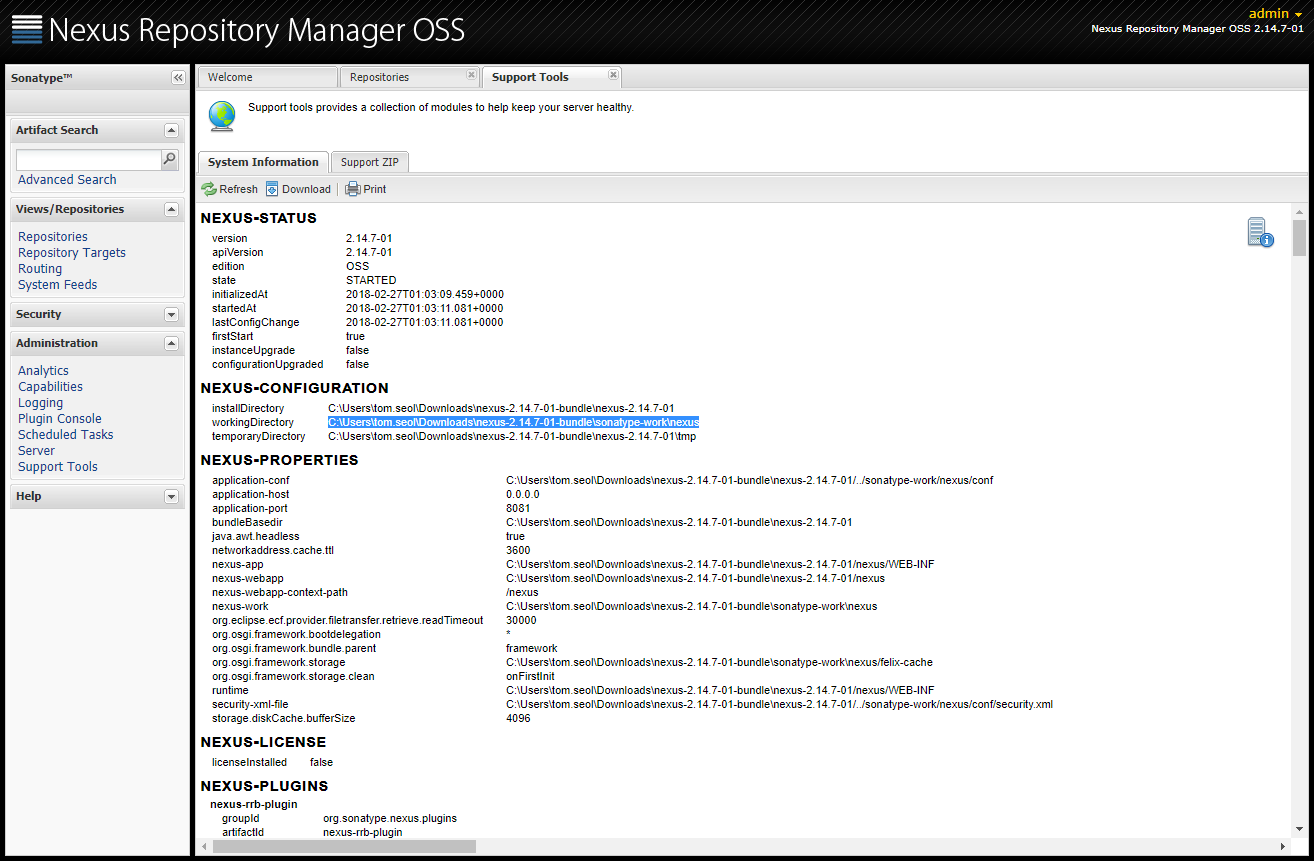
nexus 접속
아래 주소로 nexus에 접속한다.
- localhost:8081/nexus
Linux 설치하기
계정 생성
먼저 nexus 계정 생성한다.
useradd nexus
su - nexus
설치 다운로드
wget http://www.sonatype.org/downloads/nexus-latest-bundle.tar.gz --no-check-certificate
압축 해제
tar zxvf nexus-2.14.0-01-bundle.tar.gz
서비스 등록 설정
cp /nexus/nexus-2.14.0-01/bin/nexus /etc/init.d/nexus
vi /etc/init.d/nexus


#NEXUS_HOME=".."
NEXUS_HOME="/home/nexus/nexus-2.14.0-01"

#RUN_AS_USER=
RUN_AS_USER=nexus

#PIDDIR="."
PIDDIR="/home/nexus"
서비스 시작
다음 명령을 통해 nexus 서비스를 시작할 수 있다.
service nexus start
다음 명령을 통해 실행 여부를 확인할 수 있다.
ps -ef | grep nexus | grep -v grep

netstat -tnlp | grep java
설정
접속
http://서버주소:8081/nexus
설정
Download Remote Indexed를 True로 변경한다.
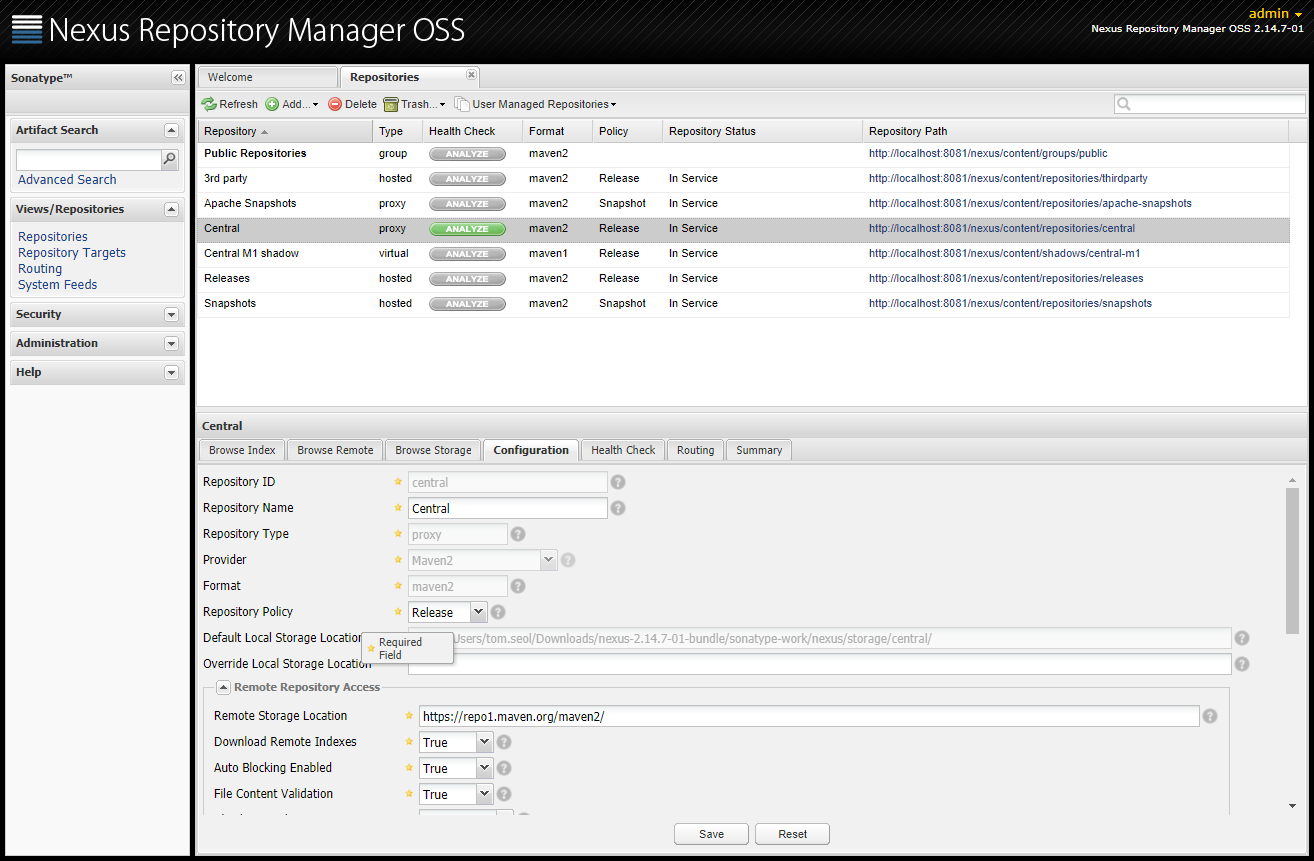
Update Index 실행

pom.xml 수정
빌드를 위해 maven pom.xml에 다음을 추가한다.
<repositories>
    <repository>
        <id>central</id>
        <url>http://127.0.0.1:8081/nexus/content/groups/public</url>
        <releases><enabled>true</enabled></releases>
        <snapshots><enabled>true</enabled></snapshots>
    </repository>
</repositories>

<pluginRepositories>
    <pluginRepository>
        <id>central</id>
        <url>http://127.0.0.1:8081/nexus/content/groups/public</url>
        <releases><enabled>true</enabled></releases>
        <snapshots><enabled>true</enabled></snapshots>
    </pluginRepository>
</pluginRepositories>
nexus 이전
만약 nexus에 대한 이전이 필요하면, workingDirectory 이전한다.